
pfSense Initial Setup
(Pre-configuration)
HOME LAB
Initial Plans and Considerations
I originally planned to virtualize my pfSense firewall using Proxmox on one of the Dell PowerEdge servers I currently have in the rack. However, I ran into a hardware limitation: my setup lacked a dual-port NIC (Network Interface Card). Considering redundancy and power consumption, I decided that a separate device for the firewall would be more efficient. This would allow me to turn off the virtual machine server when it wasn't in use. (I would later change the OS from Proxmox to Windows Server so this would work out great).
Evaluating Solutions
I started by pricing some proprietary firewall solutions, but they were just going to be far too expensive. The product that initially caught my eye was the 'Protectli Vault FW4B'. But at £329(!) this just was not going to be available in my price range. If I were in an actual enterprise environment, I guess the cost could be justified for its secure, plug-and-play approach, but for me, that was also a bit less interesting. Easy is boring:).
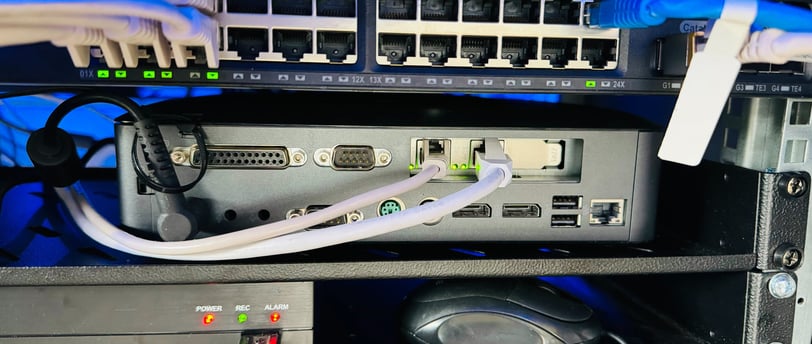
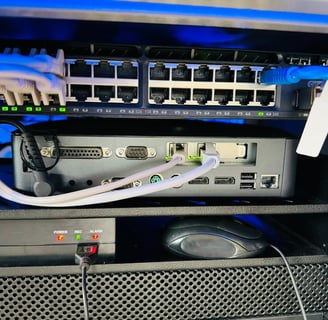
Instead, I opted for a more budget-friendly route by purchasing an HP 610 Plus mini PC from eBay, equipped with 8GB of RAM and a 16GB M.2 SATA drive. I would later find in the pfSense dashboard stats, that this would be far more than I would need in a home environment, although I do believe you could push these limitations in a larger network. The reason I had to go for the 'plus' version is due to the PCI slot and riser present on the motherboard and case.
Given that my ISP (Starlink) speeds only reach around 300Mbps, I bought a 1GB NIC from Amazon, which was quite affordable and sufficient for my needs. I connected the MFF PC to my network switch via SFP to the 1G port. With Dishy V1, bypassing the Starlink router was straightforward and plug-and-play. I have read, however, that on later models, the power supply for the dish is hard-wired into the proprietary router and needs a special adaptor (more money) to work with a 3rd party router. Sometimes it pays off to be an early adopter.
Installing pfSense
I burned the pfSense image onto a USB stick and installed it on the PC. The installation process was straightforward with the GUI wizard. However, I encountered an issue during the network configuration phase. While I could get a WAN address on igb1, it didn't work well with LAN on igb0. Switching the WAN to igb0 resolved this issue, allowing both WAN and LAN to function correctly. This time, I also waited to connect to the switch until the installer prompted me to reboot. Not sure why this worked and the previous way didn't, as I spent time browsing the internet for a solution but never found one. I guess this is one of these lessons-learned scenarios.
Initial Configuration
After installation, I accessed the web interface to complete the setup, including sorting the DNS configuration through the wizard. My main workstation connected to the PC-now-router, but I couldn't access the internet. On further look though, my phone, connected via a wireless AP via the switch, had internet access. After trying a few other devices on such wifi, I came to the obvious conclusion it was the workstation at fault.
I tried pinging various IPs from my PC but kept receiving failures. The solution eventually was to flush the DNS cache on my PC via PowerShell, which resolved the connectivity issue, allowing internet access. Happy days.
Next Steps
My next task will be to configure the firewall rules and VLANs to optimize network security and performance. Stay tuned for updates on this process.